
As complicated as pour-over coffee sounds, the brewing process is surprisingly simple and the results can be so satisfying. With just a little practice and applying a few simple rules, you will make pour over coffee that is excellent in no time.
Making an excellent pour-over coffee comes a sturdy coffee dripper known as Dripper and Pot. The dripper and pot have become increasingly popular in recent years. It delivers incredibly clear flavors, aromas and allows coffee lovers to enjoy even the subtlest notes in their coffee. It is one of specialty coffee’s favorite brewing methods, and you can brew an incredibly tasty coffee within a few minutes.
Table of Contents
1. What is Pour-Over Coffee?
The pour-over method involves pouring hot water through coffee grounds in a filter. The water drains through the coffee and dripper into the pot. Pour over is also known as filter coffee or drip coffee.
Learn more: What is pour-over coffee?
2. What You Need to Start Brewing
To start brewing, you will need to prepare these items: A paper filter, gooseneck kettle, freshly boiled water, medium ground coffee, a scale, and pour-over brew equipment known as dripper and pot.

To make a good cup of coffee using the pour-over coffee method, it is important to know the grind size of the coffee beans.
Note: The size indication varies for different coffee roasters. For example, A definition of a medium-size ground coffee is different between Roaster A and Roaster B. For those who made their purchase from Mister Coffee, we recommend using medium size.
Explore Our Ground Coffee3. How to Make Pour-Over Coffee
Once you have gathered all the items listed above, it is time to make a delicious pour-over coffee.
Here are the steps to help ensure you achieve a clean cup for your homebrew:
Step 1: Prepare Freshly Boiled Water and Preheat
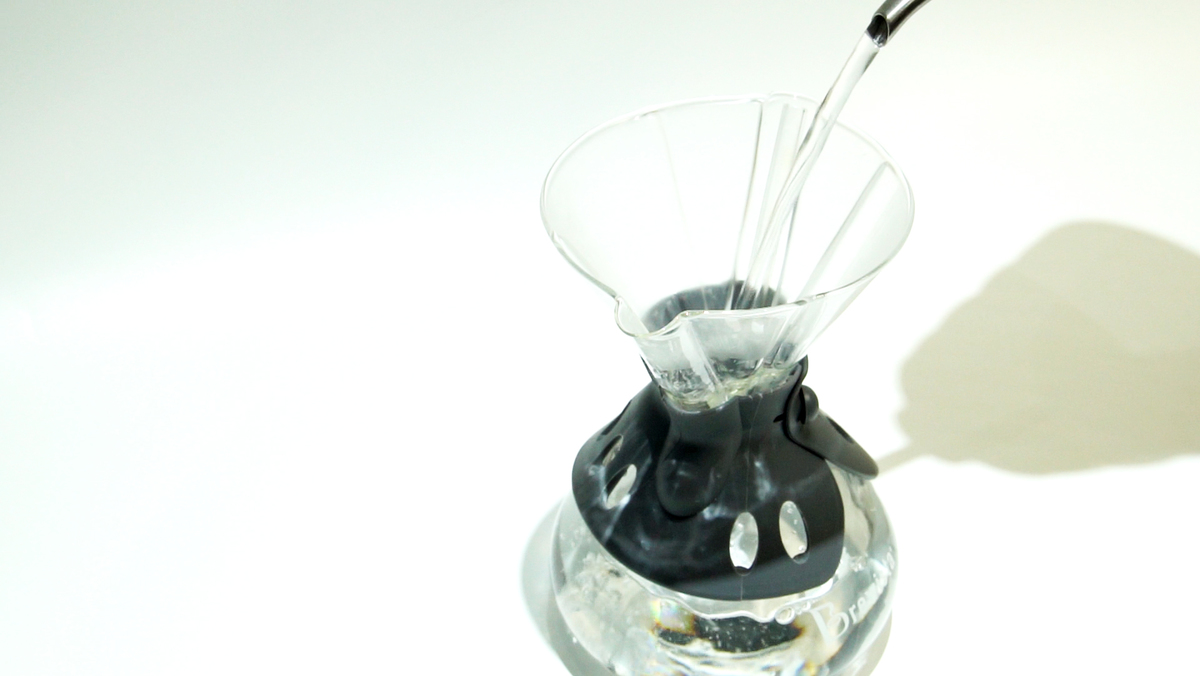
Prepare freshly boiled water with a temperature between 92°C to 96°C. Before brewing the coffee, it is important for you to preheat the dripper and pot by filling it with the boiled water. This is to ensure that the dripper and pot stays warm during the brewing process.
Note: If the dripper and pot are not preheated, the temperature of the hot water will reduce when it is in contact with the cold dripper and pot, thus affecting the flavor of the coffee. To highlight, the temperature is one of the key variables in brewing a cup of great coffee.
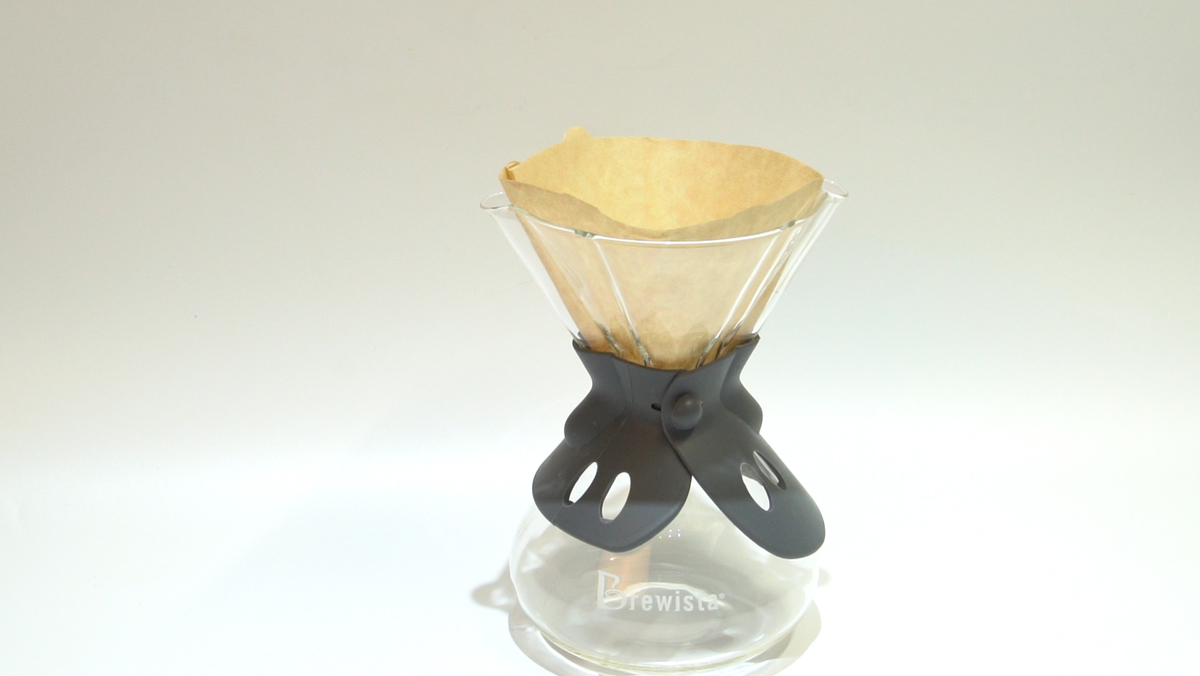
Next, place the paper filter and pre-wet it. This will wash away some papery residues, resulting in a cleaner brew.
Additionally, it will seal the filter to the sides of the dripper, and it will preheat the vessel you are brewing into. Do not forget to discard the water before you begin brewing!
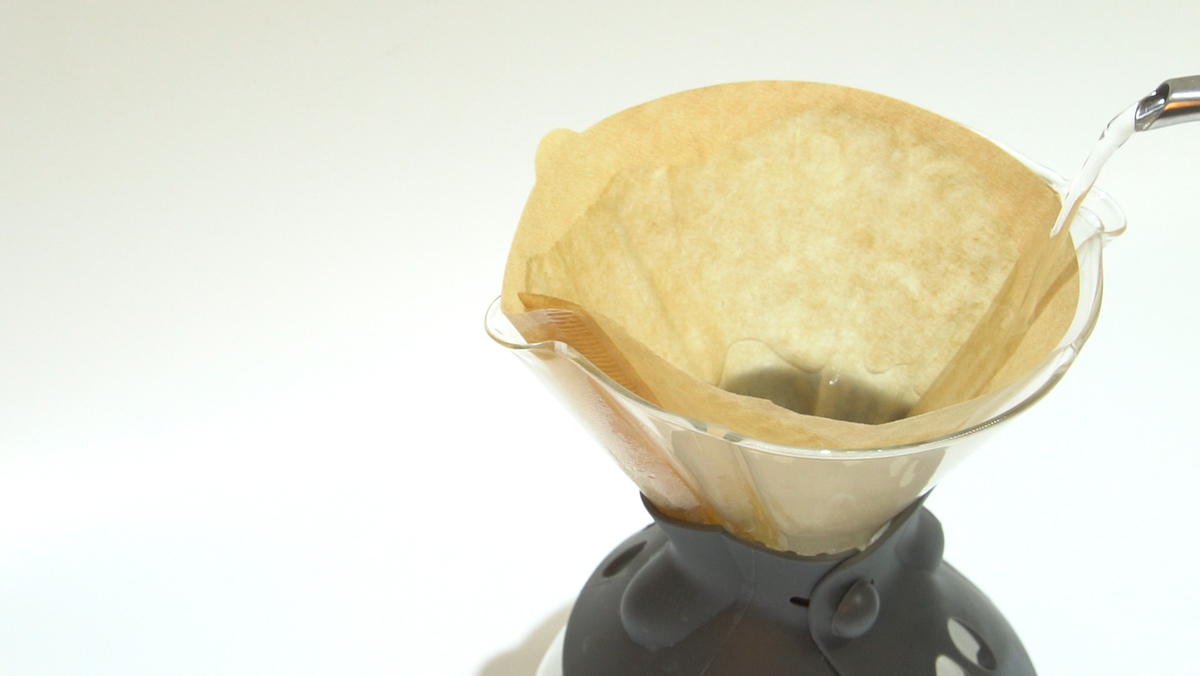
Note: If you skip pre-wetting the filter, the water would always wet some grounds before others. Unfortunately, once some areas are wet and the others are dry, the water will favor the wet areas, and the dry areas will resist wetting.
Step 2: Measure and Grind Your Coffee
Measure your coffee beans on a scale. Once you measure it, grind it to medium size. It is also important for you to check on the amount of water you pour during the brewing.
We recommend a coffee-to-water ratio of 1:18. For example, if you have added 20 grams of coffee, you shall pour 360 grams of water.
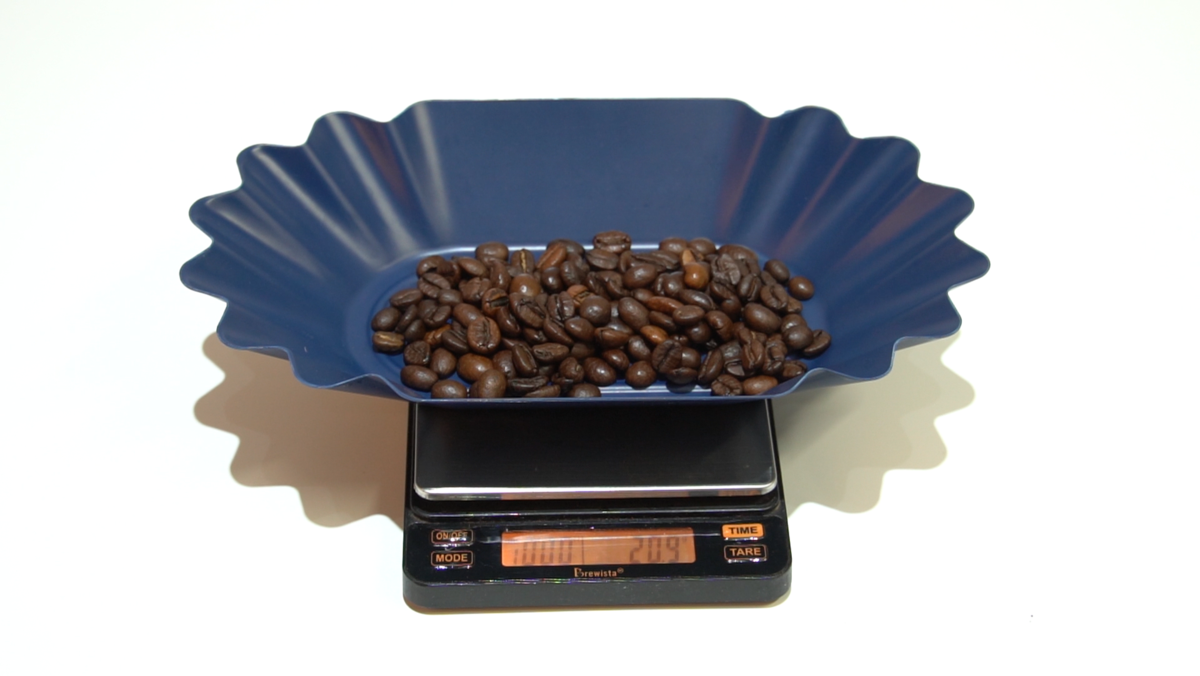
Place the dripper and pot on a scale, and tare it to zero. Next, gently pour coffee into the filter. Give a soft shake to settle the grounds into a flat surface, known as the coffee bed. This will allow for more even extraction by avoiding pooling.

Recommended products
-

Macap M2M DOMUS Coffee Grinder
RM2,040.00 -

Macap M42D Coffee Grinder Digital
RM4,180.00 -
Macap M6D Coffee Grinder Digital
RM4,675.00 -
Macap MX Coffee Grinder
RM3,080.00 -
Macap MXD Xtreme Coffee Grinder Digital
RM7,045.00
Step 3: Bloom the Coffee
Tare the scale to zero again. Gently add enough water to the grounds to evenly saturate them. Let this sit for 10 seconds and let the coffee drip. This is called “blooming”, and it kick starts a chemical reaction where gasses are purged from the ground coffee.
Note: If you add all the water immediately, these gasses will become trapped in the coffee and the taste will be affected.
Step 4: Continue Pouring in a Spiral Motion
After 10 seconds, continue adding water to the coffee bed. Slowly pour the water in a spiraling motion around the outer circumference of the circle where your coffee is sitting.

To highlight, do not pour water directly onto the filter, and don’t let the water level get too close to the top edge of the dripper. This will help avoid the coffee from overflowing the filter.
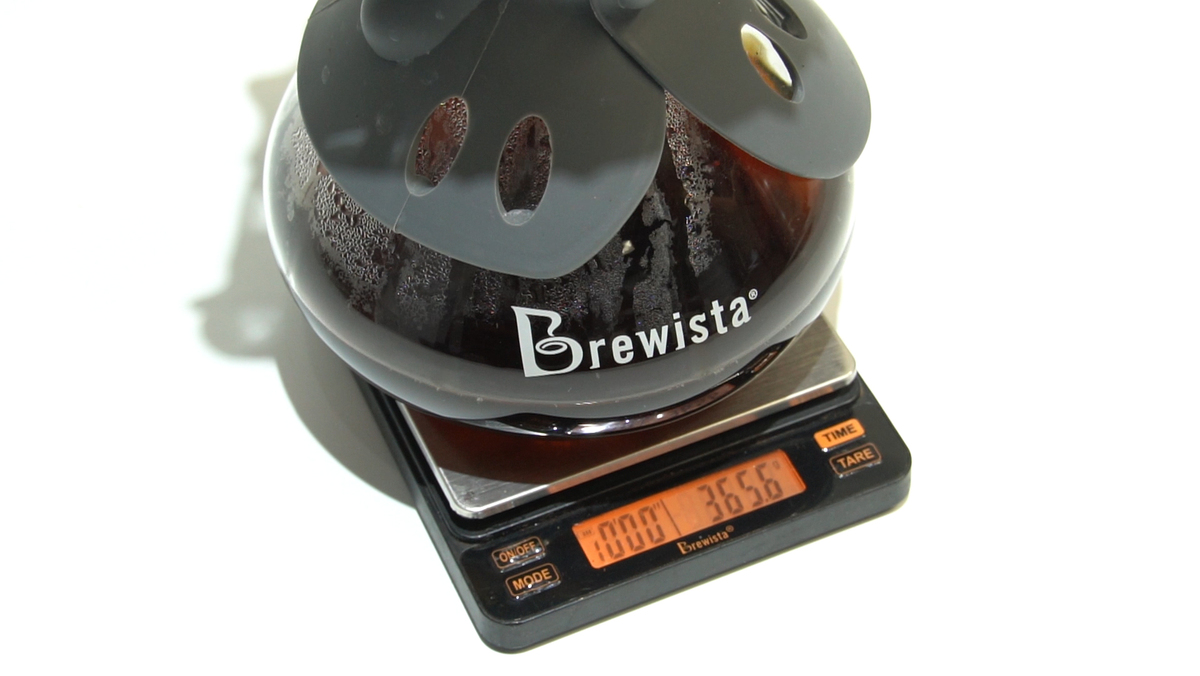
Stop pouring once you have added 360 grams of water. This should take roughly a minute.
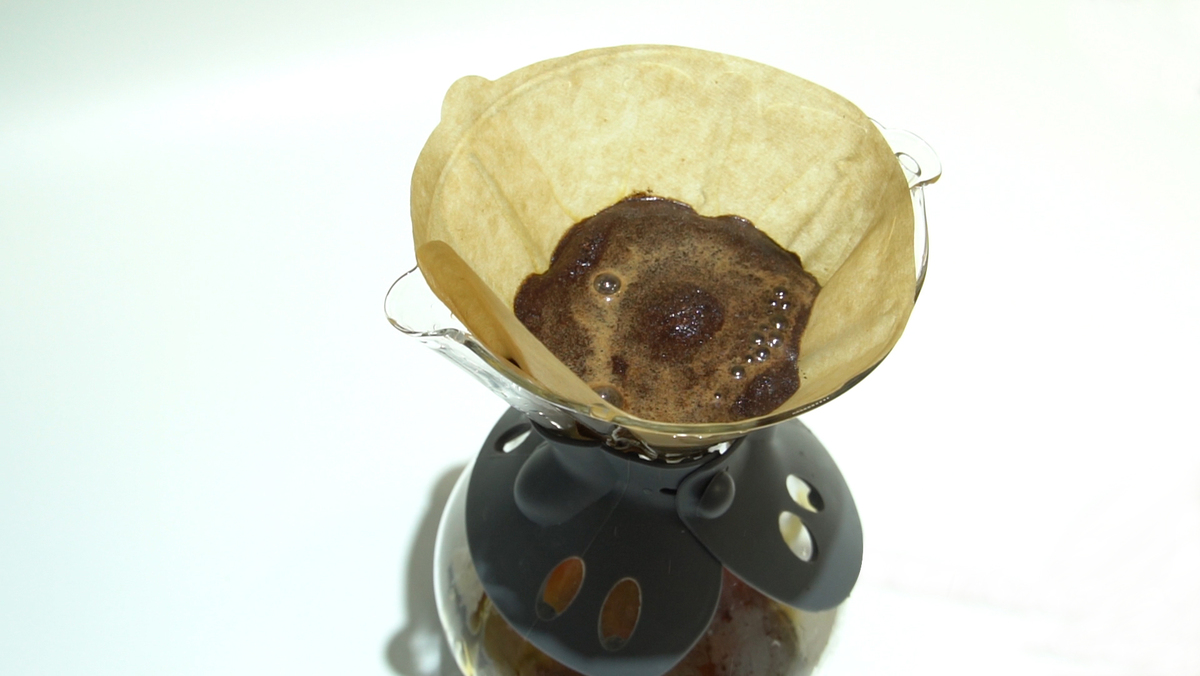
Step 5: Let It Drain
Allow the water to drain from the filter. Once it is done, you are ready to enjoy your coffee!
Overall, this should take about 2 minutes 15 or 30 seconds. If the time is significantly outside of this range, you will need to adjust the coarseness at which you ground your coffee.
Note: If the pour-over is quicker than the time mentioned above, it means your coffee ground was too coarse. If the pour-over takes longer than the time mentioned, it means your coffee ground was too fine.
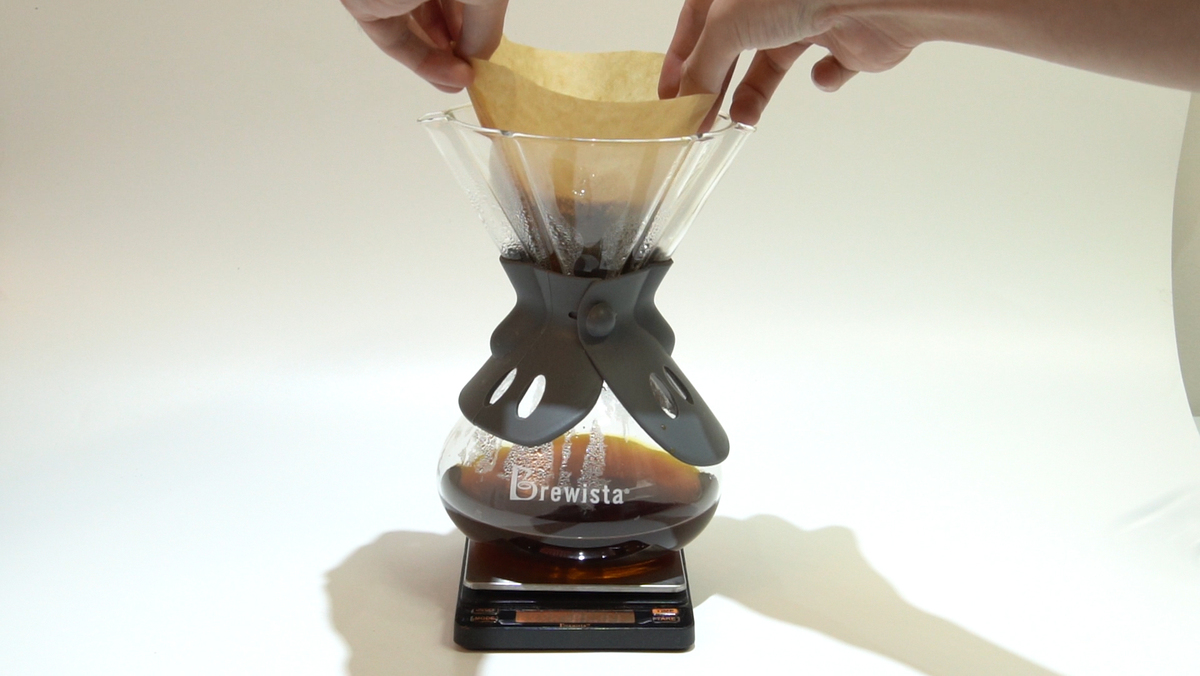
Step 6: Discard and Serve
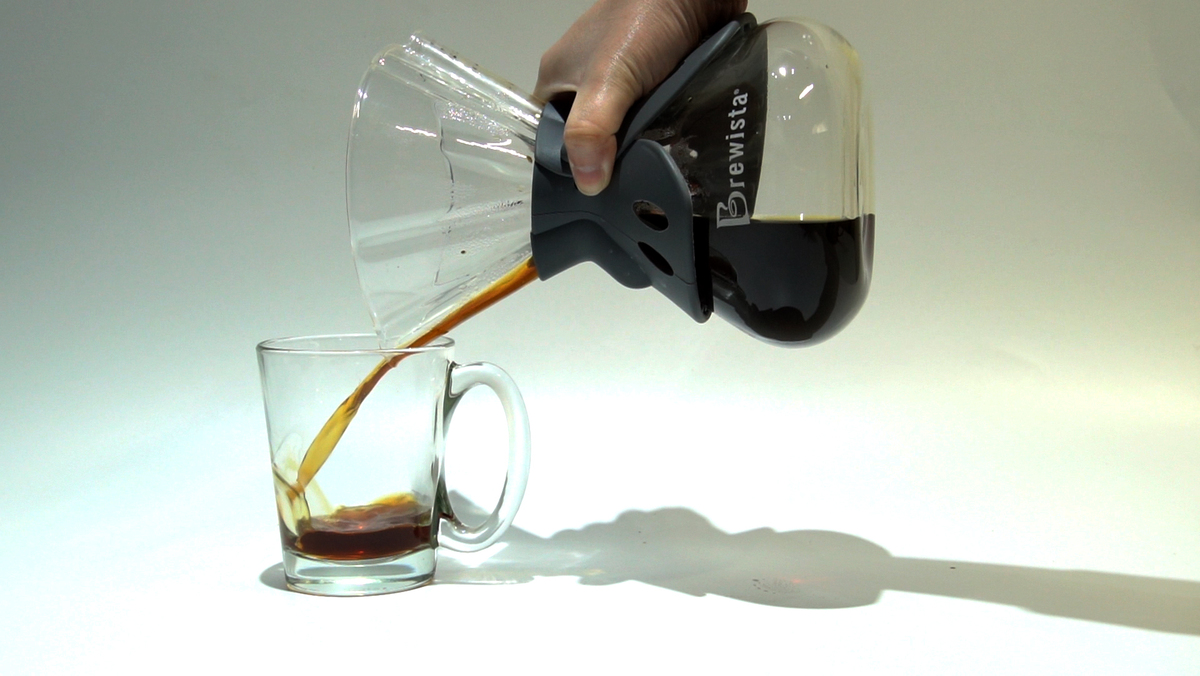
Discard the paper filter and grounds. Serve immediately and enjoy!
Note: After brewing, you can get a clean and aromatic cup of coffee.
As with everything, practice makes perfect. If your first pour-over doesn’t taste quite right, don’t give up! Make small adjustments to your process, and you will enjoy making coffee right at the comfort of your own home.
Share with us your achievement in making a delicious cup using Mister Coffee beans. We’d like to know about it and don’t forget to tag us!


How to Start a Coffee Shop Business in Malaysia: A Complete Guide
I’ve been in the coffee industry for years and if there’s one thing I never get tired of, it’s watching...
5 Types of Coffee Brewing Techniques
Which coffee brewing method is best? The honest answer is, it depends on you and your lifestyle. Coffee brewing isn’t...
Coffee Makes It Easy For Everyone – The Art of Coffee
Coffee is more than just a drink; it’s a ritual, a moment of comfort, and for many, an essential start...
From Beans To Cup | Freshness & Quality Promise
When it comes to truly great coffee, the journey matters just as much as the destination. Every sip you enjoy...
ICBS 2024 – Mister Coffee – More Than Just Coffee Manufacture
Coffee is more than a beverage; it’s a culture, a business, and a passion that unites people worldwide. At the...
We’re Made For You – Discovering the Best Coffee Bean Journey
Coffee is a lot more than a drink. It’s a tradition. It’s a passion. It’s a necessity of life for...