
Latte art is a beautiful thing. You can be an art critic and still drink your coffee at the same time. Although, a perfect latte art doesn’t make your coffee taste any better. It makes it more fun and sparks some light in the morning.
For those who like their coffee with milk, you must have come across various kinds of latte art (and probably posted a couple of them on Instagram). A captivating pattern that is made of milk foam, sitting on top of an Espresso drink.
Table of Contents
To have a great latte art requires a fresh shot of Espresso with a rich golden Crema, and a properly textured steamed milk. Once your textured steamed milk is ready, you pour it into your Espresso, then finish with the foam in the design you love. This usually involves a few key aspects such as height, position, and flow.
To read more on steamed milk, head on over to “How To Consistently Steam Milk for Espresso.”
Having to do designs on coffee might sound complicated but don’t worry, here is a complete guide to make a perfect latte art. All you need is a pitcher and a wide cup as it is easier to pour your latte art. Plus, the pitcher should be about 2 times bigger than the cup you will pour into. This is to avoid the milk from spilling during the frothing and steaming process. Let’s start.
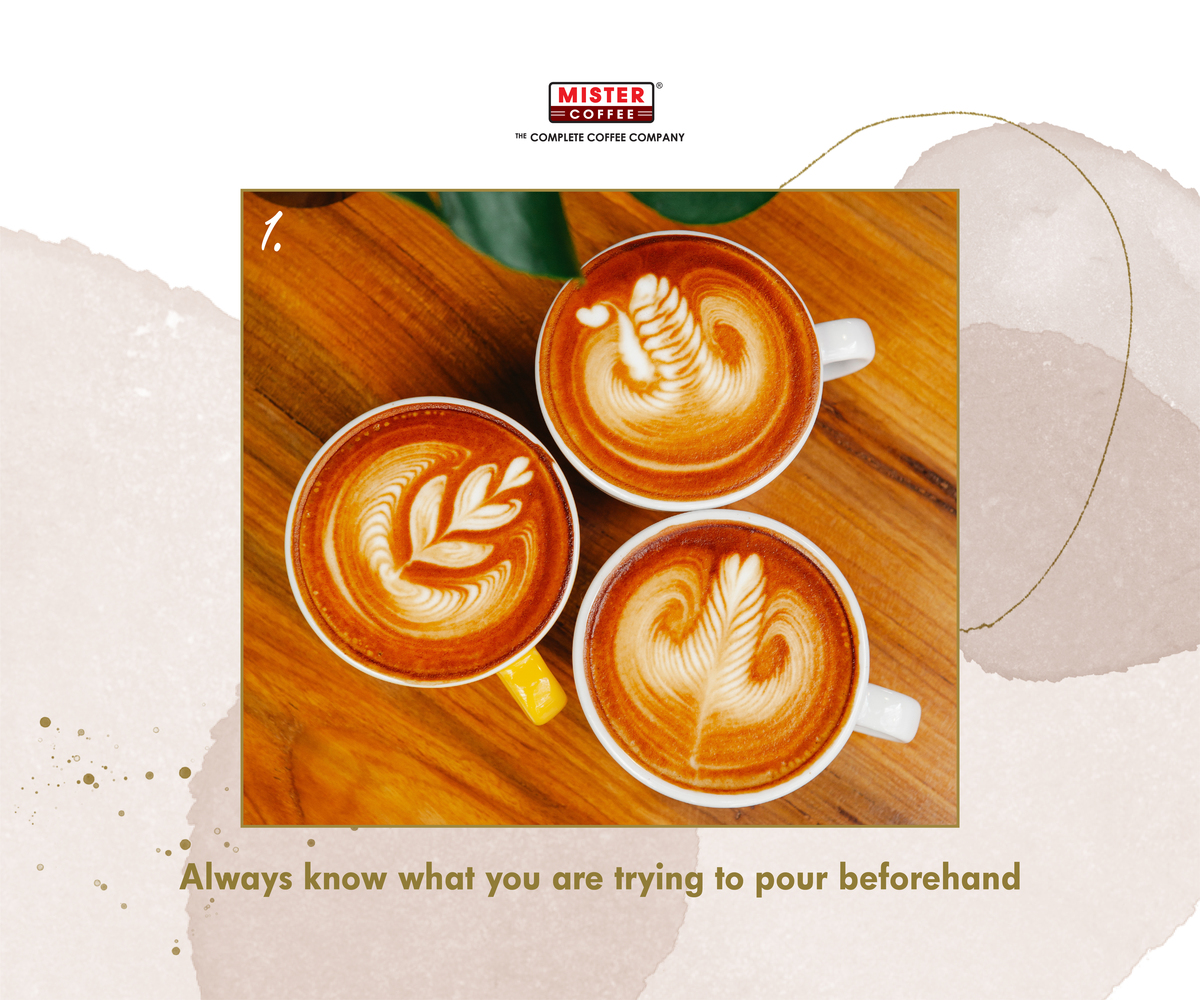
1. Always know what you are trying to pour beforehand
Start with a plan. This method helps you to focus and create a smooth workflow that lies ahead. Milk pouring is often quite tricky and with insignificant movements can change a lot in your latte art. So, it is important to decide what latte art you will end up with. Having a last-minute change of mind will set you up for failures.
#Preparation
Recommended products
-

Espresso Bar (500g)
RM60.00 -
Espresso Bar Dark Roast (500g)
RM60.00 -
Espresso Classic (500g)
RM40.00 -
Espresso Gold (500g)
RM50.00 -
Espresso Pearl (500g)
RM45.00 -
Espresso Royal (500g)
RM60.00 -
Espresso Super Bar (500g)
RM70.00 -
Espresso Super Bar Dark Roast (500g)
RM70.00 -
N Cap Espresso Bar (10 pcs)
RM22.99 -
N Cap Espresso Classic (10 pcs)
RM18.99 -
N Cap Espresso Gold (10 pcs)
RM20.99 -
N Cap Espresso Pearl (10 pcs)
RM19.99 -
N Cap Espresso Royal (10 pcs)
RM21.99 -
N Cap Espresso Super Bar (10 pcs)
RM23.99
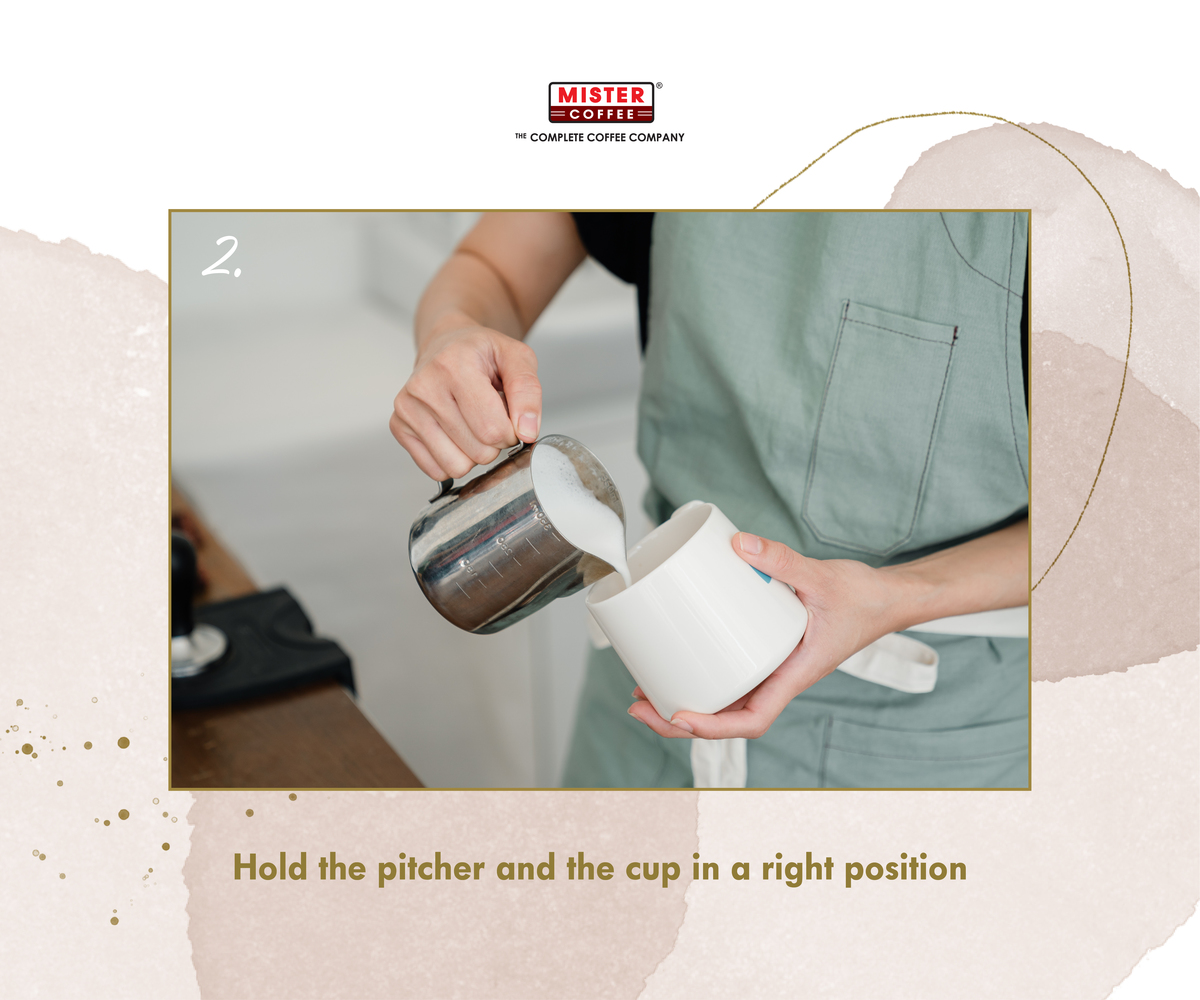
2. Hold the pitcher and the cup in a right position
There are a few options when pouring a latte art. To start off with a pitcher, most baristas hold it with four fingers and control the movement with their thumb.
Note: When we have a latte art to present to someone, make sure that the handle is on the right, and the latte art is facing towards them. And that’s very easy to achieve if you hold the cup the right way.
If you often hold the pitcher with your left hand, make sure the handle of the cup is perpendicular to your belly button and away from yourself. That means when we pour the latte art and pull through, it’s going to be nice and in line with the handle.
Conversely, if you do the art with your right hand, make sure the handle is pointing towards your belly button so when you pull the latte art and serve it, it’s facing towards the customer.
#PitcherPosition
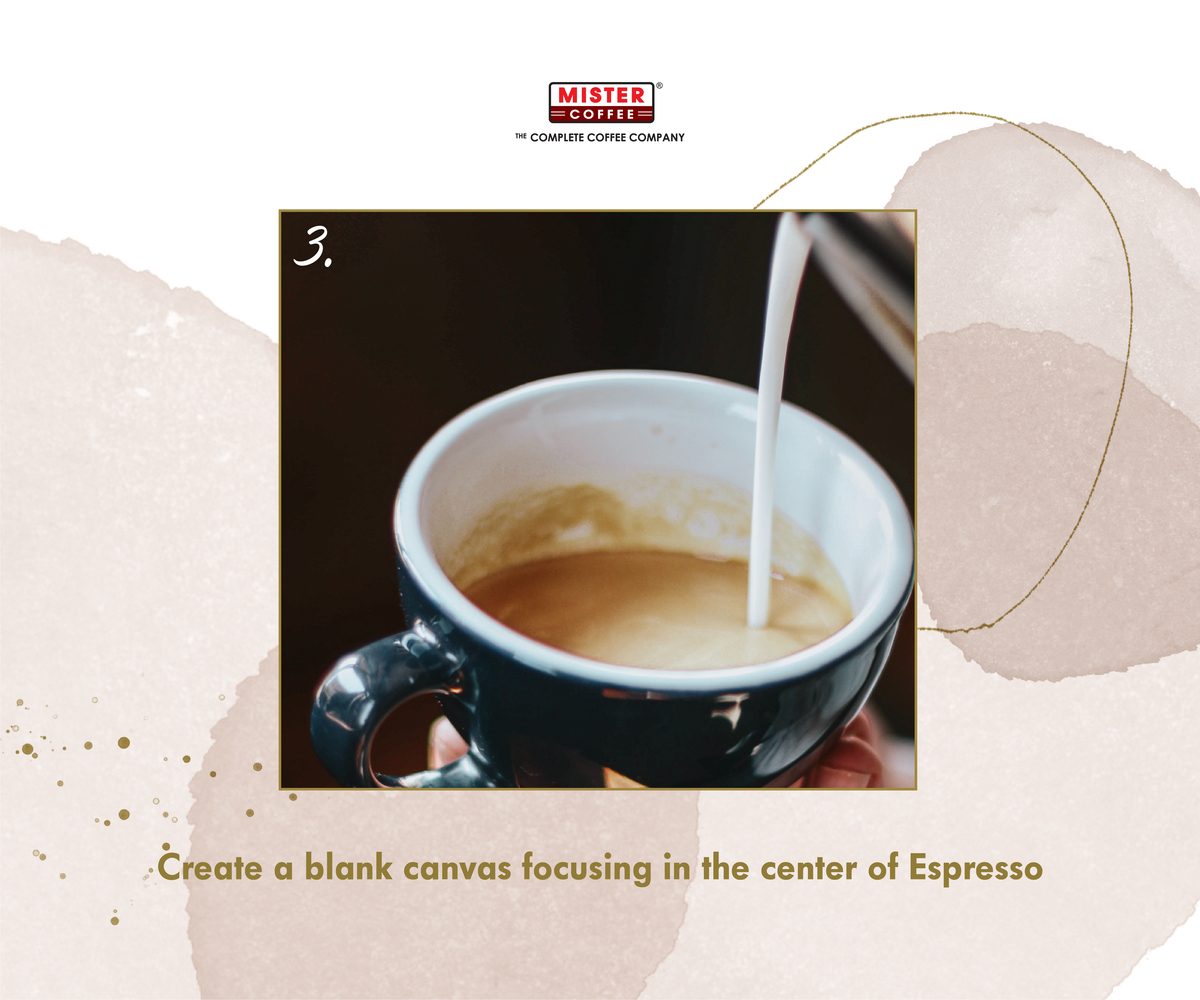
3. Create a blank canvas focusing in the center of Espresso
Like a painter needs a canvas, what a latte artist is looking for is a nice and even golden Crema coloured. Focus on pouring the milk into the center of your Espresso when you start. This is to avoid the milk from sinking through the Crema.
Important tip here is to place your hand high using circular motions to incorporate the milk into the Espresso with the cup tilted inwards. Mix it evenly in the center of your Espresso. Then, about half to three quarters of the way, there is a nice even Crema colour to pour your latte art into.
Plus, pouring the milk into the center will help push the art towards the edge of the cup and not break the Crema.
#Pouring #BlankCanva
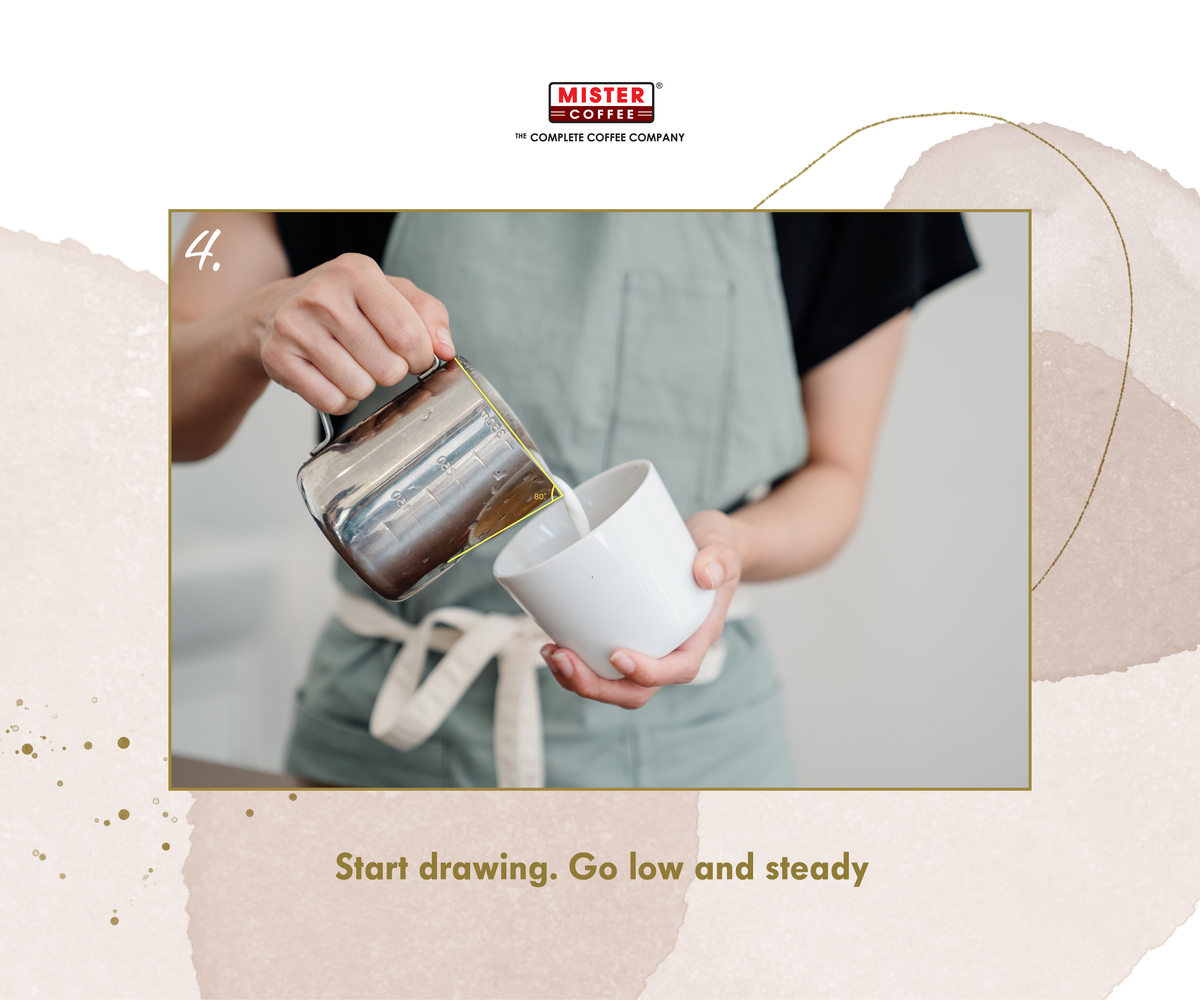
4. Start drawing. Go low and steady.
Once the blank canvas almost reaches the lid of the cup, drop the pitcher low towards the surface at approximately 80 degrees, and start pouring by tilting the cup. When the pour is closer to the Crema, it will make the foam appear and not sink below the surface.
Note: Tilt your cup back parallel to the floor as you pour. By pouring too fast will break the Crema, and pouring too slow will leave the foam hanging. Finding your balanced pace is the key.
#SteadyHands
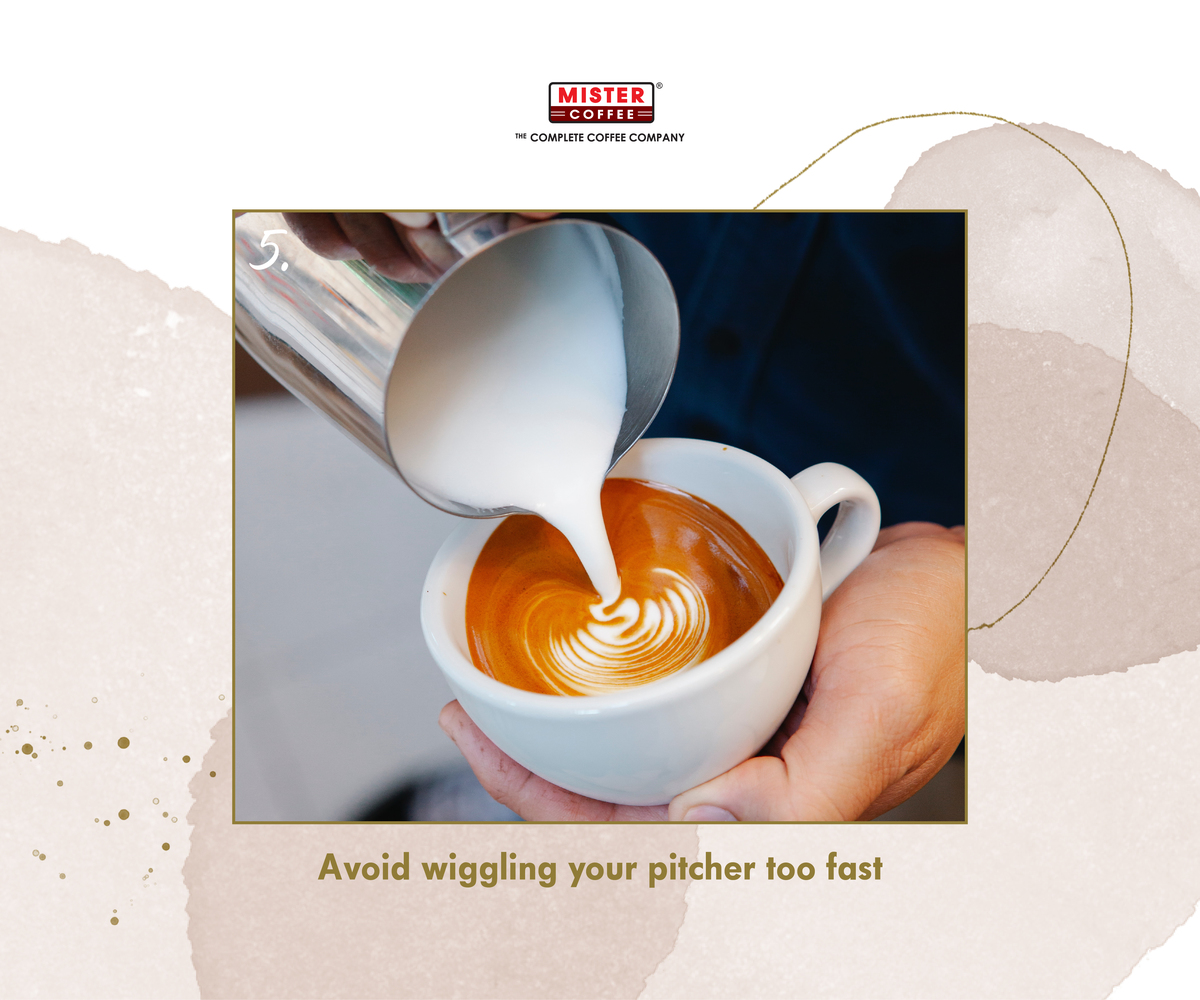
5. Avoid wiggling your pitcher too fast
If you rush to pour your design, everything will be a mess. Remember, pouring a latte art should be comfortable and fun.
Controlling your pitcher gets easier with lots of practice. Instead of shaking your arm forward and back, think of it like making small scribble marks on a piece of paper with your hand. When you get good at this subtle movement, the milk will gently sway back and forth in the pitcher, giving you easier control to pour your latte art.
The more you practice, the more consistent you will get. Once you master the movement, you can customize your own speed and flow.
#CommonMistakes
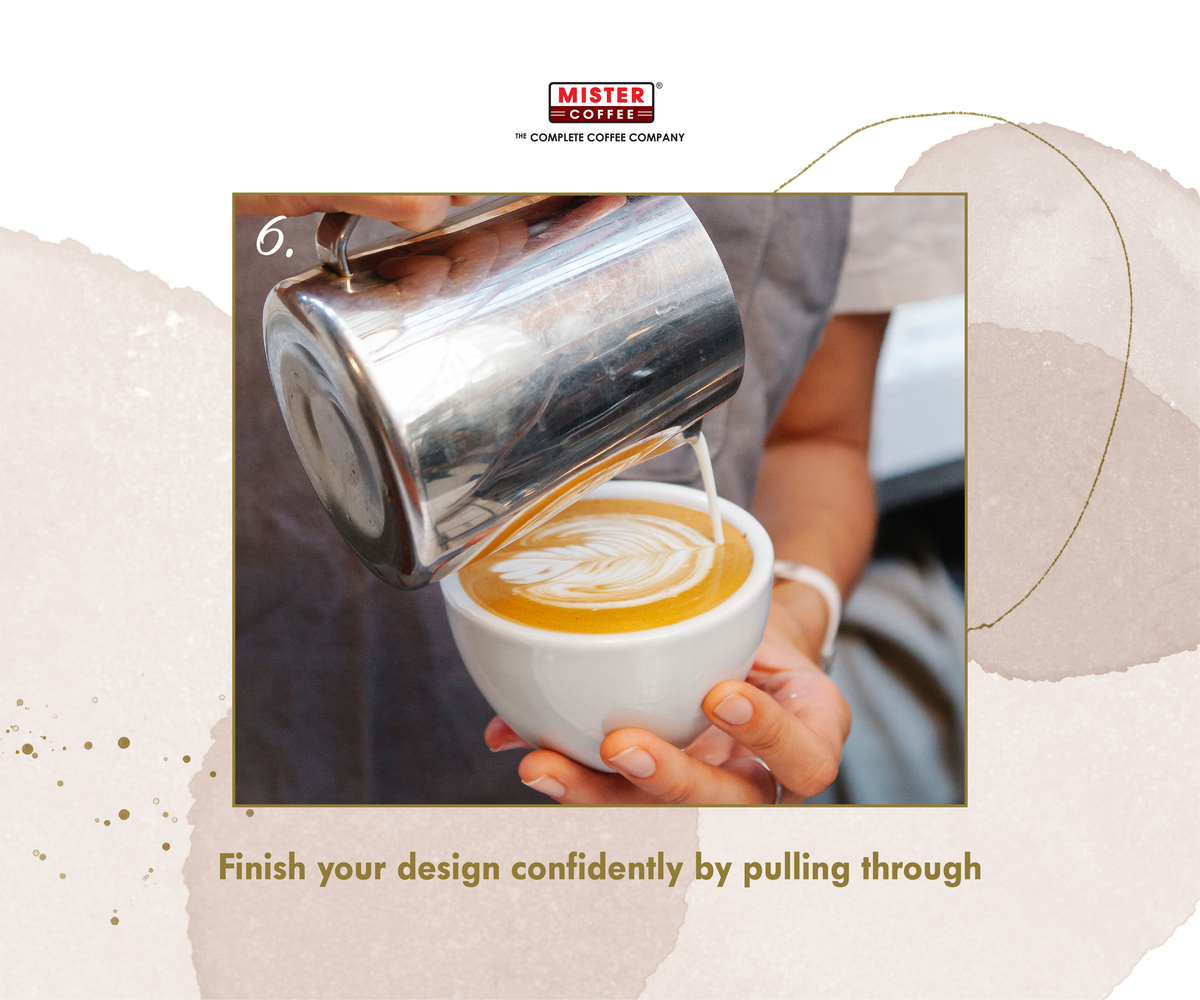
6. Finish your design confidently by pulling through
When the cup is full, get ready to pull through. For most designs, the pull through method is the last step to complete the pour.
Before you start, make sure you’re pouring a couple inches above the surface. Have the line thin as you pull through so it draws a nice even line without messing up the pattern.
Note: Pulling through the same height will sink your design. So, slow the speed and lift your pitcher up to complete your art.
#PullThrough #Design #LatteArt
FAQs
Does latte art affect the taste of coffee?
No, latte art doesn’t change the taste—it simply makes your coffee more visually appealing.
What do I need to make latte art?
You’ll need a fresh shot of espresso with rich crema, properly textured steamed milk, a pitcher, and a wide cup.
How do I start learning latte art?
Begin with a clear design in mind, hold the cup and pitcher correctly, and practice pouring steadily into the espresso’s center.
Can beginners make latte art at home?
Yes, with patience and practice, you can create simple designs at home using basic tools.
How long does it take to master latte art?
It varies, but consistent practice over weeks or months will improve your control, flow, and design skills.
To master these skills certainly requires patience, determination, and effort. Just like Stephen Curry (An American Professional Basketball Player), he throws 500 “shots” a day to improve his skills (No pun intended there). Do not fret if you can’t get it right to make a latte art after 3 days of practice. Practice makes perfection. You will eventually get the latte art that you are satisfied with.
We hope this guide is helpful to you. If you are ready to do your first pour, have fun, be creative, and enjoy the process. Don’t forget to tag us if you have used this guide as a helping hand.
Join our Coffee Cupping with Mister Coffee and discover the art, aroma, and flavor behind every brew—reserve your spot today!


How to Start a Coffee Shop Business in Malaysia: A Complete Guide
I’ve been in the coffee industry for years and if there’s one thing I never get tired of, it’s watching...
5 Types of Coffee Brewing Techniques
Which coffee brewing method is best? The honest answer is, it depends on you and your lifestyle. Coffee brewing isn’t...
How to Brew Drip Bag Coffee – Easy Guide
If you are a coffee lover, you probably have seen drip bags around. But did you know that the single-serve...
How To Steam Milk Consistently For Espresso
Steaming milk may seem easy. However, it takes skill to achieve the creamy microfoam milk that is suitable to create...
How To Make A Good Cup Of Espresso
If you’ve ever wondered how to make a good cup of espresso at home, you’re not alone. It might look...
What is Espresso? Every Thing You Need to Know
“I need a shot of espresso to keep me awake.” Sounds familiar? Trust us, we have all been there. Usually...