
Steaming milk may seem easy. However, it takes skill to achieve the creamy microfoam milk that is suitable to create a latte art or a cappuccino.
Usually, coffee baristas use the steam wand of an Espresso machine to make steamed milk. The machine will pump steam into a pitcher filled with milk. There will not be any microfoam if you do not steam the milk properly. Below we explain the importance and a step-by-step guide to steam milk consistently for your espresso.
To start off, there are two key phases while steaming milk, which are aerating and emulsifying.
Aerating is about creating foam by injecting air to the milk surface. The texture of the milk is important to the taste. And having the right amount of foam will help to make a good milk drink.
Aerating is important because it increases the milk’s volume and produces microfoam. This will allow us to create a beautiful latte art or perfect froth for a cup of Cappuccino.
When the steam wand is at the surface, the jets of steam will sound like tiny, furious whisk. Don’t let the loud noise frighten you. It just means the steam is introducing air by breaking the surface of the milk. Thus capturing the air in the liquid and giving milk its unique foam properties.
Placing the steam wand down too deep into the pitcher, the milk surface will not break. If you place the steam wand above the surface, it creates large bubbles. Either way, the milk will still be warm from the hot steam but there will not be any air injecting into the milk, meaning no foam.
Note: For lattes, we recommend using only a little aeration. For Cappuccino, you can aerate a little longer to get that decent amount of microfoam.
Emulsifying milk is a second stage known as “texturing”. By texturing means mixing the microfoam altogether to create a smoother, richer, and thicker outcome.
During the second stage, emulsifying is crucial because it helps to further stir and break down tiny bubbles in order to pour a perfect latte art. Additionally, emulsifying also helps to increase the temperature and volume.
Note: We encourage you to plunge the steam wand deeper into the milk to emulsify it.
Equipment
Note: The milk pitcher should be two times bigger than the cup you are pouring into. This is to avoid the milk from spilling during the frothing process. Plus, it is easier to pour into your Espresso drink.
Many coffee beginners misunderstand that steaming milk is a complicated task. However, with practice and patience, you will gain excellent results. Here are a few steps for you to make it right.
Learn more: Join now Coffee Cupping by Mister Coffee
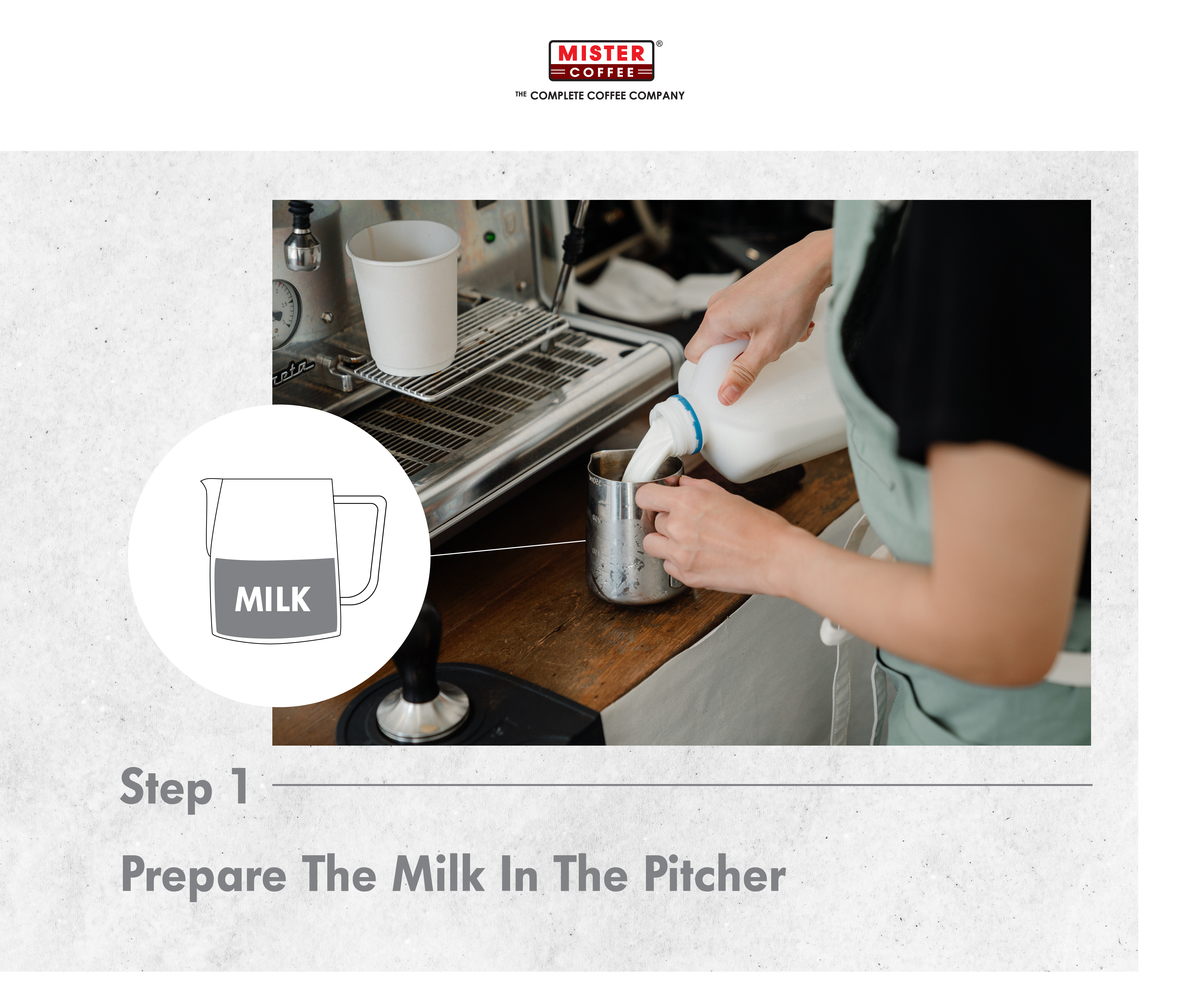
Fill your pitcher to the bottom of the spout, averagely about ⅓ of the way.
Note: Keep in mind to always purge the wand before steaming the milk. This is to remove any previous leftover ooze that is trapped in the circuit.
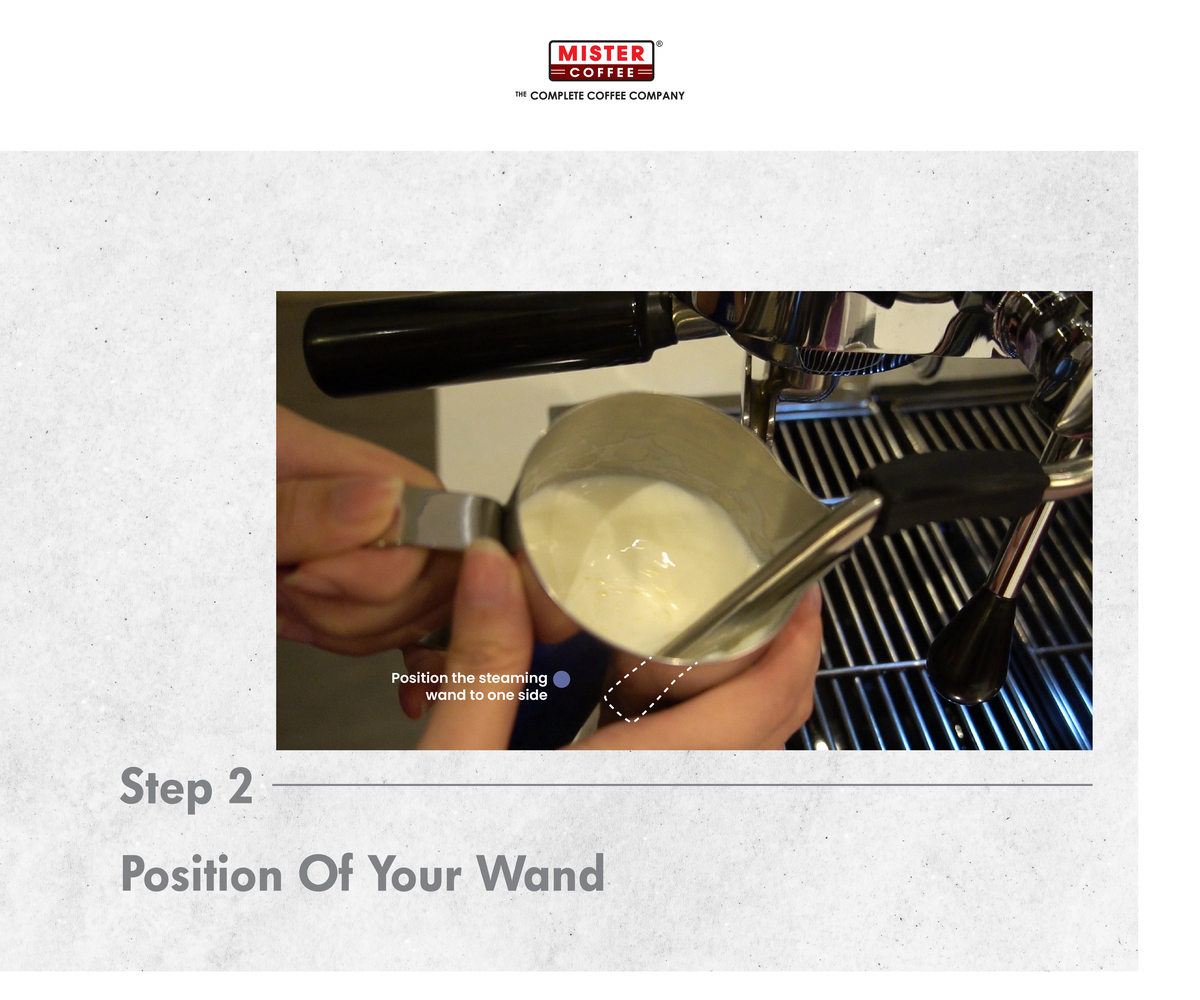
Submerge the tip of the steaming wand into the milk. Position the steaming on to one side of the jug with a slight angle so that your steam wand is aimed into the milk’s lower right quadrant. This is going to help create a whirlpool. Personally, we find it helps to rest the wand in the jug’s spout.
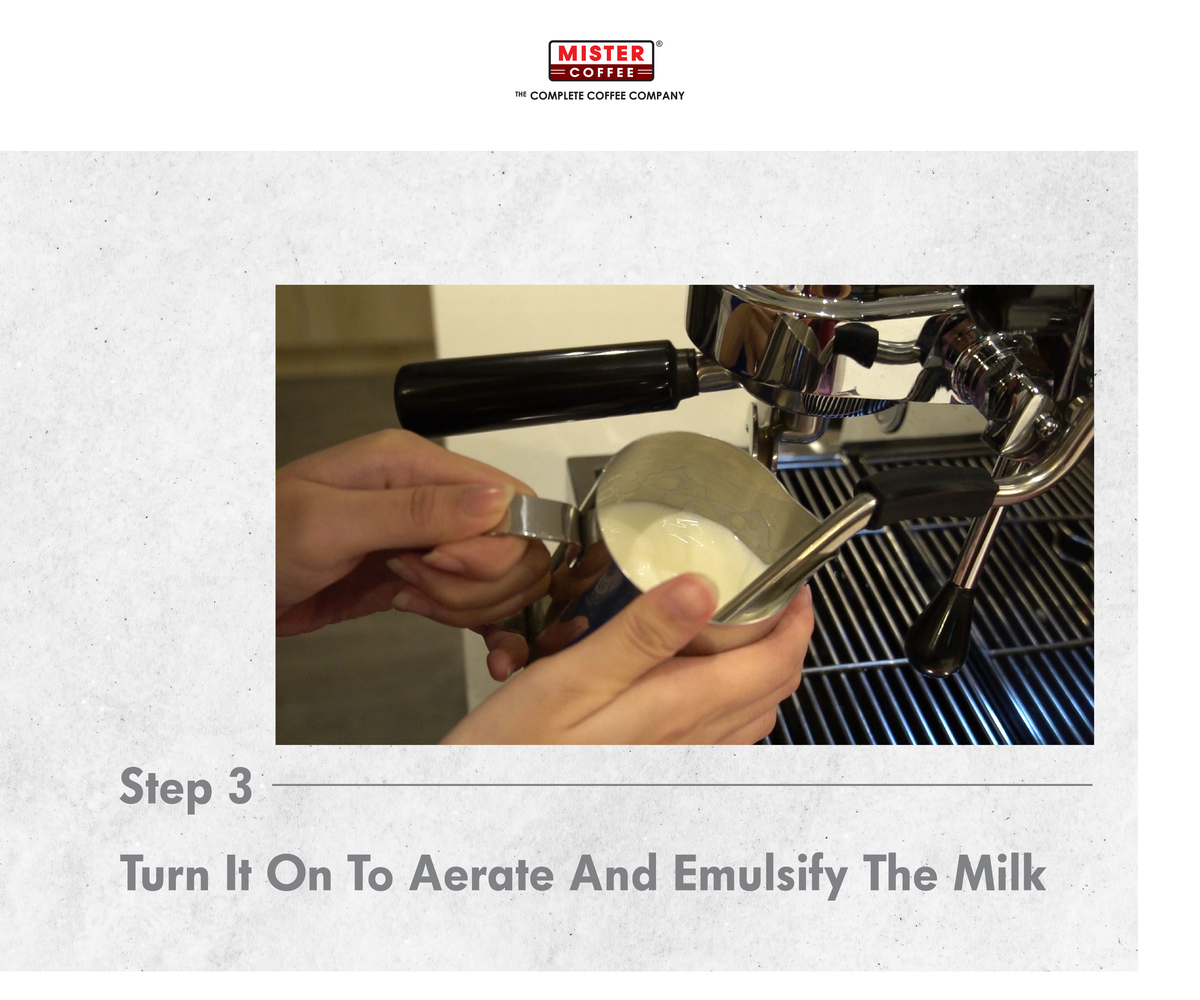
Once you position your wand a centimeter or two below the milk’s surface, turn it on full blast. You should hear a small fierce “hiss” whisk sound. This sound allows small sips of air into the milk.
After two seconds, quickly submerge the wand below the surface of the milk so that it continues the whirlpool motion in your pitcher. This will help to create microfoam, and break down bubbles in the steaming process.
Until the pitcher becomes too hot to touch and has reached the temperature between 60 – 62°Celsius, turn it off.
Note: After steaming the milk, purge the steam wand again. Give a few wipes with a clean wet towel.
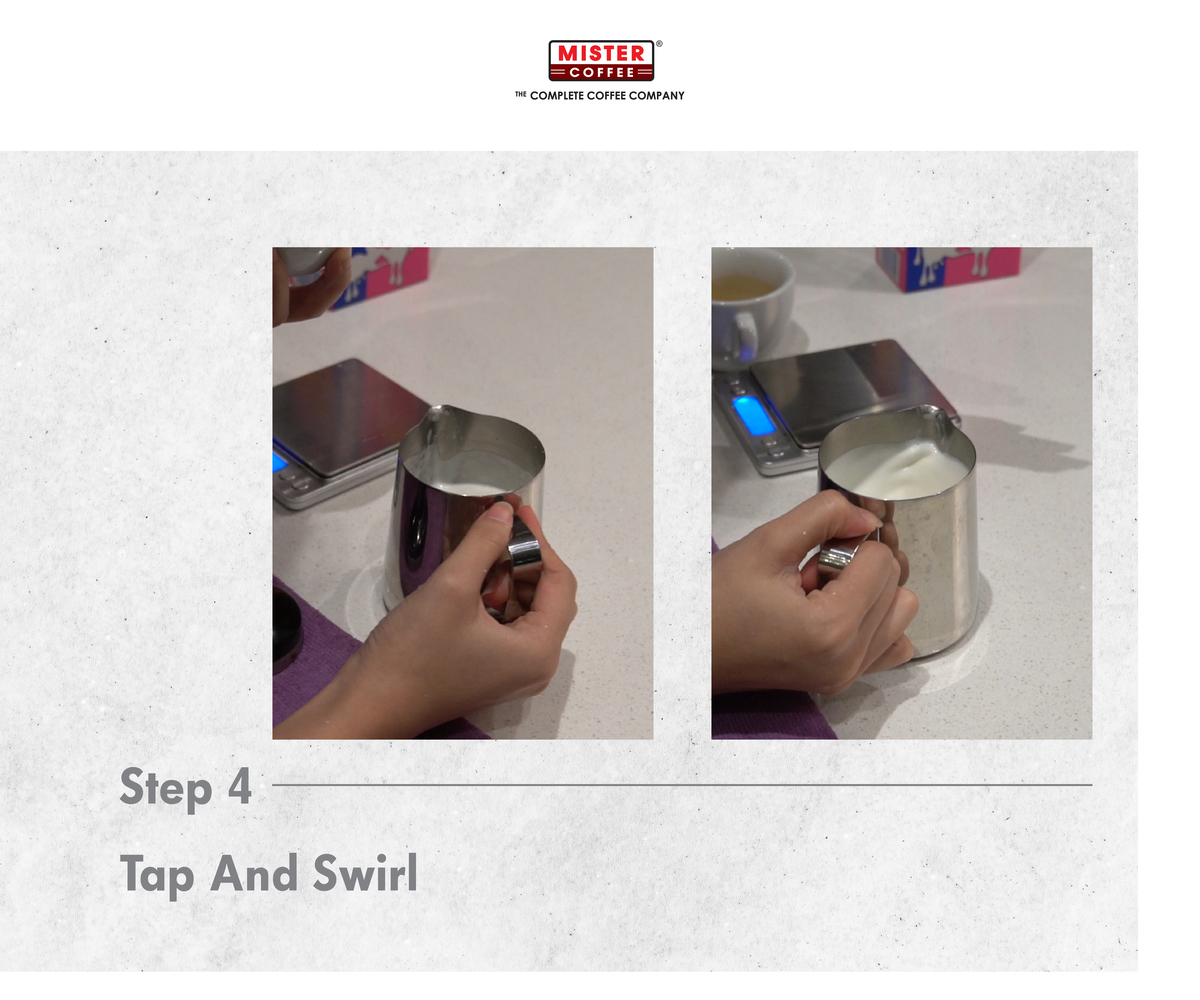
To help break any remaining bubbles, tap the pitcher on a flat and hard surface before pouring. Give it a few swirls to equalize the texture. The mixture of liquid and microfoam should resemble a wet white paint.
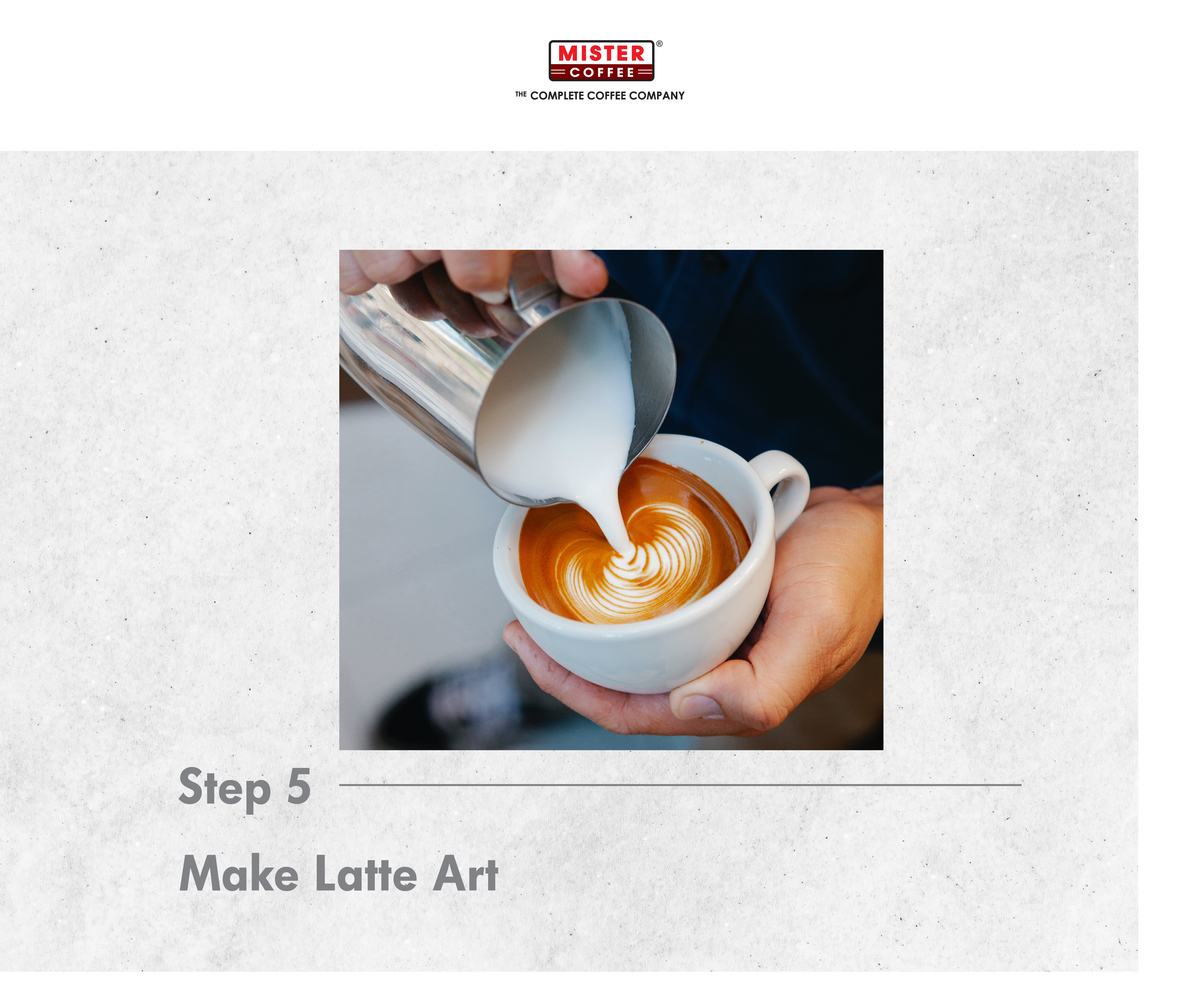
With more practice, you can make impressive latte art on the top of your Espresso drink or any other Espresso based drinks. If you are a beginner, start with simple latte art.
For more tips and tricks, head on over to Guide To A Perfect Latte Art.
What does it mean to steam milk?
Steaming milk involves heating milk using a steam wand to create microfoam, which gives it a creamy texture perfect for lattes and cappuccinos.
What temperature should steamed milk reach?
Steamed milk should ideally reach between 60–62°C (140–144°F) to achieve the right warmth and texture without scalding.
Can I steam milk without an espresso machine?
While it’s possible to heat and froth milk using alternative methods, an espresso machine’s steam wand is the most effective tool to steam milk properly.
What milk is best for steaming?
Whole milk is commonly preferred for steaming due to its higher fat content, which creates richer and creamier microfoam.
How do I steam milk for a latte?
To steam milk for a latte, introduce a small amount of air (aerate) and then emulsify it by submerging the steam wand to create a silky, smooth texture.
Steaming milk may seem like a basic task, but mastering the process of aerating and emulsifying milk is essential for creating smooth, creamy textures and rich microfoam. These two stages—when done right—elevate your milk-based espresso drinks like lattes and cappuccinos. With proper tools, practice, and technique, anyone can learn to steam milk like a pro and start crafting café-quality beverages at home.


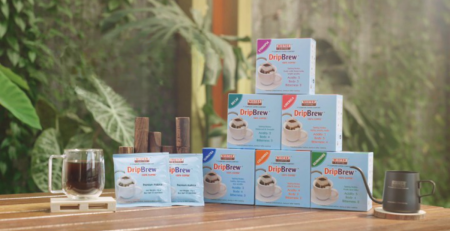
If you are a coffee lover, you probably have seen drip bags around. But did you know that the single-serve...

Latte art is a beautiful thing. You can be an art critic and still drink your coffee at the same...

If you’ve ever wondered how to make a good cup of espresso at home, you’re not alone. It might look...

“I need a shot of espresso to keep me awake.” Sounds familiar? Trust us, we have all been there. Usually...
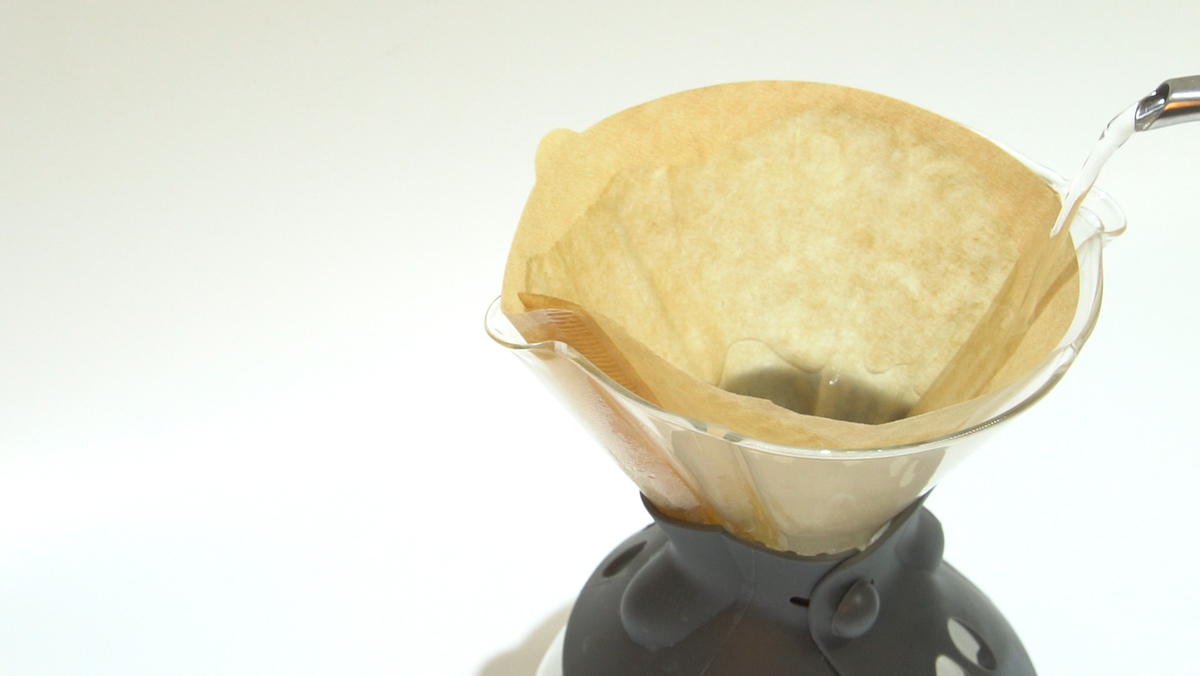
As complicated as pour-over coffee sounds, the brewing process is surprisingly simple and the results can be so satisfying....
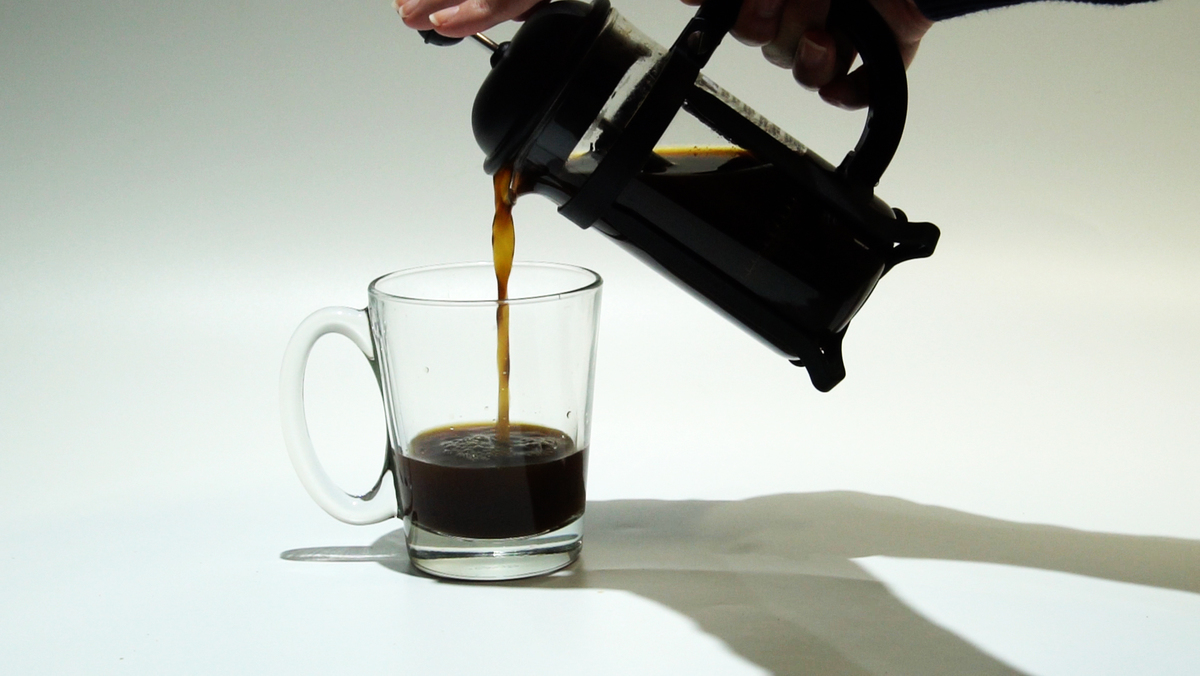
French Press is one of the most popular coffee brewing methods. It allows coffee lovers to brew a cup of...